Adding React Components to a Laravel Application

It's no secret that Vue.js is a favorite in the Laravel community, but what if you want to use React in a Laravel project? While Laravel isn't set up to use React out-of-the-box like it is with Vue, it's very easy to integrate React components into your application.
Want to learn how to use React? Check out our 4-part tutorial series which walks you through building a GIF search engine using React and Firebase!
We're going to be building a very simple Laravel app to demonstrate how to use Elixir + Gulp (Laravel 5.3) or Mix + Webpack (Laravel 5.4) to pull in a React component. You can find the source code for the demo application here.
To begin, we need to set up our application. You can follow the steps found in the official documentation or use Lambo to create a brand new Laravel project. You will also want to run php artisan make:auth to scaffold out an authentication system and php artisan migrate to migrate the database (after updating your .env file with proper credentials, of course).
Setting up with Elixir
To use Elixir, we need to install a few NPM dependencies; to do this, run npm install --save-dev react react-dom laravel-elixir-webpack-react.
Next, head into the gulpfile.js at the root of your project and replace require('laravel-elixir-vue'); with require('laravel-elixir-webpack-react');. This package will use Webpack to transpile the ES2015 JSX used to build your React components into a single app.js file that can be served by your application.
Setting up with Mix
While Laravel Mix is set up to use Vue by default in Laravel 5.4, there is a mix.react() method that makes it very easy to get going with React in your projects.
To install React and ReactDOM, run yarn add --dev react react-dom. Then, to compile those files using the React/JSX Webpack presets instead of the Vue ones, go into webpack.mix.js in the root of your file and change the mix.js('resources/assets/js/app.js', 'public/js') line to mix.react('resources/assets/js/app.js', 'public/js').
Finally, you'll need to go into resources/views/layouts/app.blade.php and update the app.css and app.js files to use the mix() method instead of asset():
<link href="{{ mix('css/app.css') }}" rel="stylesheet">
<script src="{{ mix('js/app.js') }}"></script>
Building our application
Let's build a simple React component just to make sure that our asset compilation is working. You can delete the Example.vue file in resources/assets/js/components and replace it with one called Example.js:
resources/assets/js/components/Example.js
import React, { Component } from 'react';
import ReactDOM from 'react-dom';
class Example extends Component {
render() {
return (
<div>
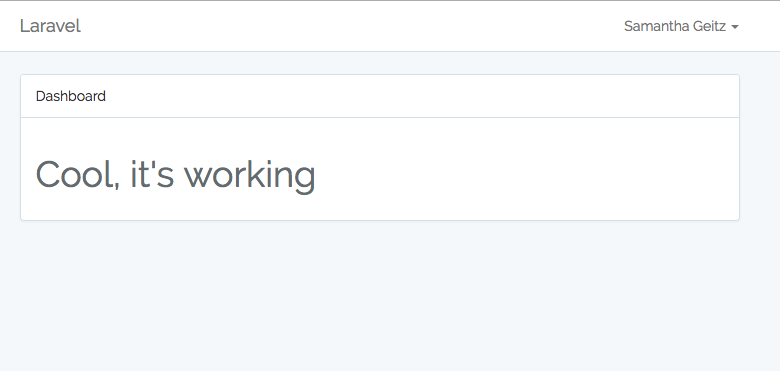
<h1>Cool, it's working</h1>
</div>
);
}
}
export default Example;
// We only want to try to render our component on pages that have a div with an ID
// of "example"; otherwise, we will see an error in our console
if (document.getElementById('example')) {
ReactDOM.render(<Example />, document.getElementById('example'));
}
We will also need to update our Webpack entry point — namely, app.js — to import our new component. You can get rid of all the Vue-related code in that file and replace it with this:
require('./bootstrap');

import Example from './components/Example';
And, finally, in resources/views/home.blade.php, replace the text "You are logged in!" inside the div with a class of panel-body with the following:
<div id="example"></div>
Now, you should be able to run gulp watch (Elixir) or yarn run start (Mix) to compile the assets.
To finish your Laravel set up, register a user at http://<your-app-url>/register — we will be using this user data in our React component and placing it on the home.blade.php page, which (if you have run the Laravel auth scaffolding command) is only available if you have logged in.
If you visit the /home page, you should see:
For every main/parent React component you want to render on your page, you need to call ReactDOM.render() and then add an empty div with a matching id for it to live inside. Each of these will function like a mini-single page application within your Blade template file.
Of course, it's not very useful to have a React component that only displays a <h1>. However, because your Laravel app is not aware of the React component — only the empty div that it lives within — you can't simply pass data into your JavaScript the way you would into your Blade template. If you want to get data into your React component, you have two options:
1) Use PHP to add variables to the global window object, which is accessible by your JavaScript code
2) Make a GET request to an API endpoint within your application
We're going to be talking about both of these methods in this article, but let's start with the first one. A package that makes this very easy is Jeffrey Way's PHP-Vars-to-Js-Transformer; you can install it by running composer require laracasts/utilities.
You will need to add the package's service provider to your config/app.php file and publish the default configuration using php artisan vendor:publish:
config/app.php
'providers' => [
    '...',
    Laracasts\Utilities\JavaScript\JavaScriptServiceProvider::class,
];
You will also need to create an empty footer.blade.php view within resources/views and include it in your app.blade.php layout file:
resources/views/layouts/app.blade.php
    @yield('content')

    <!-- Scripts -->
    @include ('footer')
    <script src="/js/app.js"></script>

</body>
</html>
Now, we can use a JavaScript facade to pass variables from our PHP to our JavaScript, and the PHP-Vars-to-Js-Transformer package will automatically inject them into our footer.blade.php. To test that it's working, let's pass our name along in the HomeController.php file:
app/Http/Controllers/HomeController.php
use JavaScript;

class HomeController extends Controller
{
    public function index()
    {
        JavaScript::put([
            'name' => Auth::user()->name
        ]);

        return view('home');
    }
}
At this point, if we go into our Example React component, we can reference this global variable within our render() method:
resources/assets/js/components/Example.js
class Example extends Component {
render() {
return (
<div>
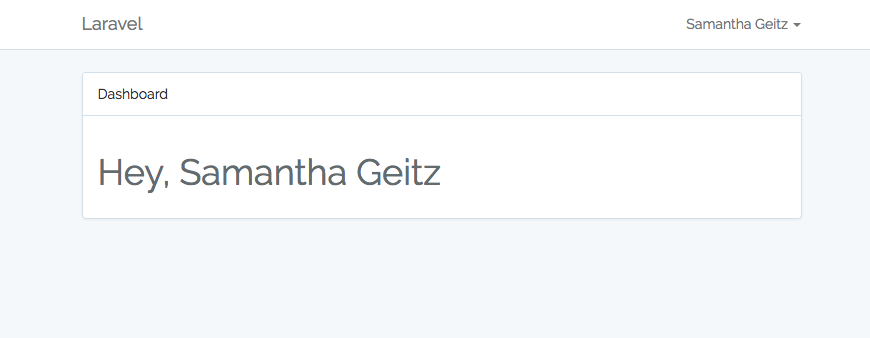
<h1>Hey, { window.name }</h1>
</div>
);
}
}
If you run gulp watch (Elixir) or yarn run start (Mix) and visit the site, you should see the following:
When you're using this method in a real application, you will probably want to go into config/javascript.php to update the location of your footer.blade.php file, and to namespace your global JavaScript variable (so that you're referencing, say, Tighten.user.name instead of window.name).
As an alternative to this approach, we can make an API call from our React application to fetch a list of users. To do this, you'll first want to register another handful of users at http://<your-app-url>/register so we have actual data to pull.
Next, add a basic endpoint in your API routes file that just returns all users:
routes/api.php
Route::get('/users', function () {
    return User::all();
});
Finally, we'll want to update our Example component to make an API call to fetch this data. While there are various HTTP request libraries you can pull in (such as superagent, which we used in our tutorial series), we are just going to use the basic fetch API that is now included in JavaScript for newer browsers:
resources/assets/js/components/Example.js
import React, { Component } from 'react';
import ReactDOM from 'react-dom';

class Example extends Component {
    constructor(props) {
        super(props);

        this.state = {
            users: []
        }
    }

    componentDidMount() {
        fetch('/api/users')
            .then(response => {
                return response.json();
            })
            .then(users => {
                this.setState({ users });
            });
    }

    renderUsers() {
        return this.state.users.map(user => {
            return (
                <tr>
                    <td>{ user.id }</td>
                    <td>{ user.name }</td>
                    <td>{ user.email }</td>
                </tr>
            );
        })
    }

    render() {
        return (
            <div>
                <h2>Hey, { window.name }</h2>

                <p>Here are the people using your application...</p>

                <table className="table">
                    <thead>
                        <tr key={ user.id }>
                            <th>ID</th>
                            <th>Name</th>
                            <th>Email</th>
                        </tr>
                    </thead>

                    <tbody>
                        { this.renderUsers() }
                    </tbody>
                </table>
            </div>
        );
    }
}

export default Example;

if (document.getElementById('example')) {
    ReactDOM.render(<Example />, document.getElementById('example'));
}
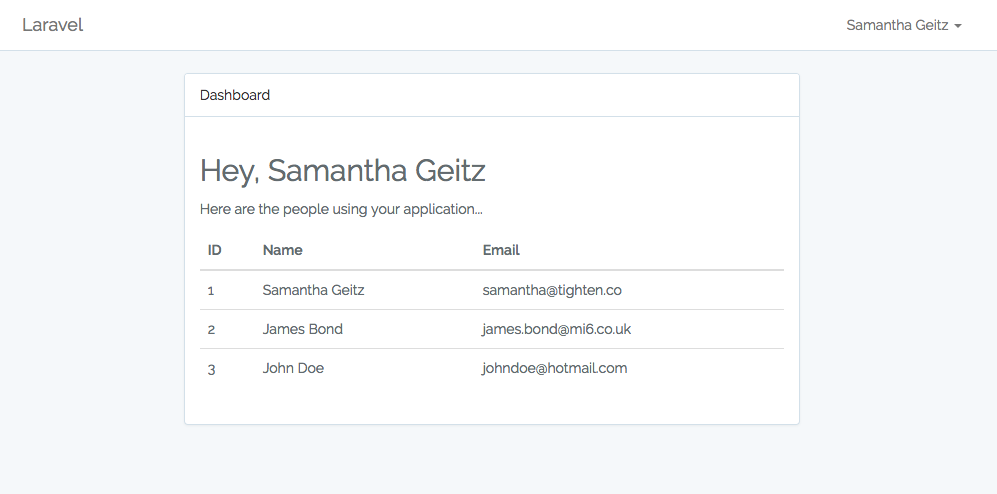
Here, we're setting users on state to an empty array in our constructor and, once the component mounts, fetching the list of users from our /users API endpoint. Once this is complete and our state is updated, our component will render the users into a basic table.
Now, we should see this:
And that's it! Once you've included your parent component in your Blade template, you can treat it like any other React component, passing down props to embedded child components or making POST/PATCH/DELETE requests to manipulate data. If you want to include any other container parent components in your Blade templates, all you need to do is call ReactDOM.render() again, and you can include as many as you'd like.
Want us to get more in-depth about anything we talked about in this article? Let us know on Twitter.
in your inbox:
let’s talk.
Thank you!
We appreciate your interest.
We will get right back to you.