Nuxt: Superpowers for your Vue 3 application


Are you searching for a way to enhance the speed of your Vue application development? Let me introduce you to Nuxt, a framework for constructing Vue applications.
Initially envisioned as a counterpart to Next.js within the realm of React (hence the similarity in names), Nuxt has evolved to such an extent that it now stands out for its distinctive merits and an impressive array of features.
What are these features? Why should you choose Nuxt for your project instead of simply creating a Vue application? Today, I'll answer these questions by exploring some (just some!) of the powerful tools this framework offers. Let's jump right into it!
1. Auto-imports
Let's start with a simple but powerful quality-of-life convenience. Take a look at this component code:
<script setup>
import { ref } from 'vue'
import FormInput from '@/components/FormInput.vue'
import AppButton from '@/components/AppButton.vue'
import { useAuth } from '@/composables/auth'

const email = ref()
const password = ref()
const auth = useAuth()

function onSubmit () {
  auth.login(email, password)
}
</script>

<template>
  <form @submit.prevent="onSubmit">
    <FormInput v-model="email" placeholder="Email" />
    <FormInput v-model="password" placeholder="Password" />
    <AppButton label="Login" />
  </form>
</template>
We are importing a reactivity function from Vue, two custom components, and a composable. Wouldn't it be nice to auto-import them all?
Well, with Nuxt, you can. Out of the box, Nuxt auto-imports all Vue reactivity functions (ref, reactive, computed, etc.) and lifecycle hooks (onMounted, onBeforeUnmount, etc.). Additionally, it auto-imports components, composables, and utility functions from the /components, /composables, and /utils folders, respectively.
Considering that, our script tag could look like this:
<script setup>
const email = ref()
const password = ref()
const auth = useAuth()

function onSubmit () {
  auth.login(email, password)
}
</script>
This might appear like magic initially: "Where does this come from?" But I've discovered that it's quite intuitive, provided you adhere to Nuxt conventions. However, if you prefer to avoid following them, you always have the option to tailor the auto-imports folders in your Nuxt configuration file.
Auto-imports speeds up your development process because, if you want to use a component, you can just include it in your template. If you no longer need it, remove it from your template without forgetting to delete the corresponding import statement as well.
2. File-based router
If you've previously worked on a Vue application, you may have utilized Vue Router to match your app's URLs with the components responsible for rendering them. While configuring the router isn't complicated, Nuxt simplifies the process further with a file-based routing system.
You can create dedicated files for each route within the /pages directory, and Nuxt handles the router configuration for you.
So this structure:
pages/
  index.vue
  login.vue
  users/
    [id].vue
...transforms into:
{
  "routes": [
    {
      "path": "/",
      "component": "pages/index.vue"
    },
    {
      "path": "/login",
      "component": "pages/login.vue"
    },
    {
      "path": "/users/:id",
      "component": "pages/users/[id].vue"
    }
  ]
}
As you can see, we can utilize dynamic parameters by enclosing the file’s name (or part of the name) in square brackets, like report-[id].vue. On that page, we can access the dynamic parameter as follows:
const route = useRoute()
const reportId = route.params.id
You can learn more about dynamic routes in the official documentation.
3. Data fetching
Nuxt makes it incredibly easy to fetch data from your API. Simply use the useFetch composable, which is automatically imported by default, to make the request:
<script setup>
const { data: posts } = await useFetch('https://jsonplaceholder.typicode.com/posts')
</script>

<template>
  <div v-for="post in posts" :key="post.id">
    {{ post.title }}
  </div>
</template>
This composable also comes with many other goodies that you can destructure if needed:
pending: A boolean that indicates whether the data is currently being fetched.error: An error object that is present if the data fetching process fails.refresh: A function that can be called to execute the same request.status: A string with status description ("idle", "pending", "success", "error").
And you can use them like this:
<script setup>
const { data, pending, error, refresh } = await useFetch('https://my-api.com/foo')
</script>

<template>
  <div v-if="pending">Loading...</div>
  <div v-else>
    <div v-if="error">Oops! Something went wrong</div>
    <div v-else>{{ data }}</div>
    <button @click="refresh">Load</button>
  </div>
</template>
Additionally, Nuxt provides two other functions to fine tune your data fetching: $fetch and useAsyncData. You can learn more about all these methods in the docs.
4. Out-of-the-box server-side rendering (and more!)
We've all been there: you've created an impressive Vue website, and all seems well until the client mentions, "Hey, the page isn't showing up on Google." That's because, by default, Vue applications render on the browser. When a search engine bot crawls your site, it only sees an HTML document with one empty <div> and a bundle of JavaScript to render content within it. If SEO matters to you, the best strategy is still to render pages on the server and deliver complete, semantic HTML for each URL.
The good news is that Nuxt takes care of this automatically. The pages and components are rendered on the server, which returns the complete, crawler-friendly HTML.
"But hold on, isn't it slower to render each page on the server? Wasn't that the issue SPAs were meant to solve?" Good question. In traditional server-side rendered applications, the server sends the complete HTML page with every request, even if certain components remain consistent, like the header and footer.
Nuxt takes care of that as well. By default, the first page requested will be rendered server-side, thus making the content readable to search engines. And once the page loads in the browser, the app behaves like an SPA: when the user clicks on a link, it only re-renders the needed Vue components.
That’s the default, but Nuxt gives you full control over the rendering modes. Do you have a part of your website that never needs to be rendered on the server? Or some pages that need to be statically generated? Don’t worry, Nuxt has you covered. Take this example from the docs:
export default defineNuxtConfig({
  routeRules: {
    // Homepage pre-rendered at build time
    '/': { prerender: true },
    // Product page generated on-demand, revalidates in background
    '/products/**': { swr: 3600 },
    // Blog post generated on-demand once until next deploy
    '/blog/**': { isr: true },
    // Admin dashboard renders only on client-side
    '/admin/**': { ssr: false },
    // Add cors headers on API routes
    '/api/**': { cors: true },
    // Redirects legacy urls
    '/old-page': { redirect: '/new-page' }
  }
})
5. Modules
Nuxt modules are plug-and-play packages you can install and configure in your app in a breeze. Need Tailwind, ESLint, Google Fonts, Pinia, or Supabase for your project? There's a dedicated module for each of these tools, and many more to explore.
Additionally, the Nuxt team has crafted first-party official modules, including:
- Nuxt Image: to compress and transform your app's images
- Nuxt Content: a Git-based content management tool
- Nuxt UI: a complete UI library compatible with Tailwind
Adding a module to your app is super straightforward. Take the Google Tag Manager module, for instance, you just need to install it:
npx nuxi@latest module add nuxt-gtm
... and then configure it on your Nuxt config file:
export default defineNuxtConfig({
  modules: ['@zadigetvoltaire/nuxt-gtm'],
  gtm: { id: 'GTM-xxxxxx' }
})
And voila! You're all set and ready to go.
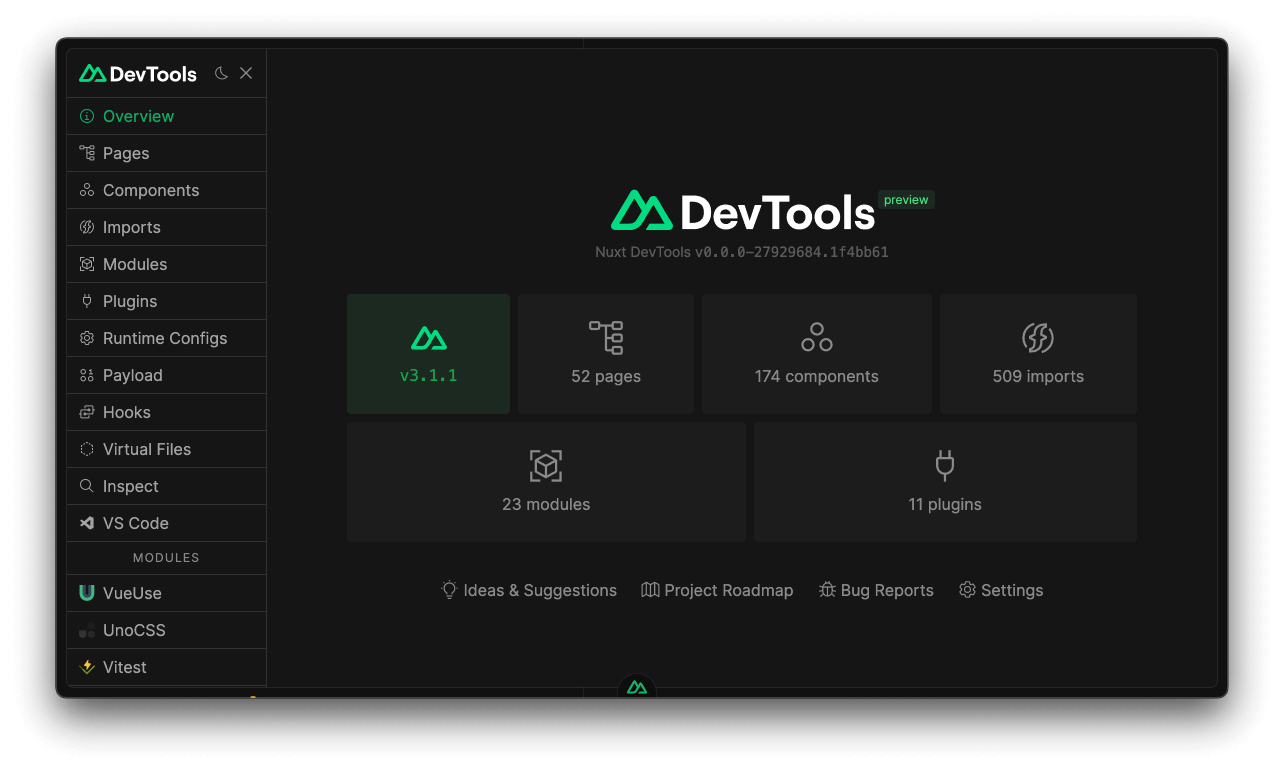
One more thing: Nuxt DevTools
Before we wrap up, let's give a shout-out to the Nuxt DevTools: an incredible developer toolbar that allows you to inspect and debug pages, components, imports, composables, and much more. You can even install or remove any Nuxt module right from this toolbar with just one click!
In closing
Nuxt has been my go-to tool when creating new Vue projects. It's versatile, fast, easy to use, and easy to learn. Today, we only scratched the surface of what Nuxt offers. The list could go on with lazy-loading components, the Nitro server, SEO enhancements, the powerful Layers, and more.
I hope this introductory article has sparked your interest to give it a try. Feel free to let us know if you'd like to see more Nuxt-related content on this blog. Until next time, Nuxt on!
in your inbox:
let’s talk.
Thank you!
We appreciate your interest.
We will get right back to you.